Since version 2005 onward SAP changed the way to install hybris a bit. Today we will cover the installation of SAP hybris Commerce using recipe and manual install. Below steps can be used for 2211 version as well.
If you want, I can share SAP Hybris 2205 and 2211 versions with you. Please click here and send your details to me.

Table of Contents
Download Hybris
You can download SAP Commerce Hybris Suite from SAP Official Website. If you want, I can share SAP Hybris 2205 and 2211 versions with you. Please click here and send your details to me.
I am using 2205 version which is last version as per SAP for customers running their ecommerce website on premise. After 2205 next version 2211 is going to be only cloud based which going to be last version. Post that customers are going to receive patches on top 2211 which will be applied to cloud automatically. it’s up to customers to enable those patches. You can install 2211 in local machine for development use. You can follow same steps what i am following for 2205.
Here Cloud I am referring as SAP Cloud not Azure, AWS or GCP as these platforms doesn’t come under SAP.
So, let’s back to our discussion, copy the zip in any directory of machine. i am putting it under D Driver 2205_install folder.

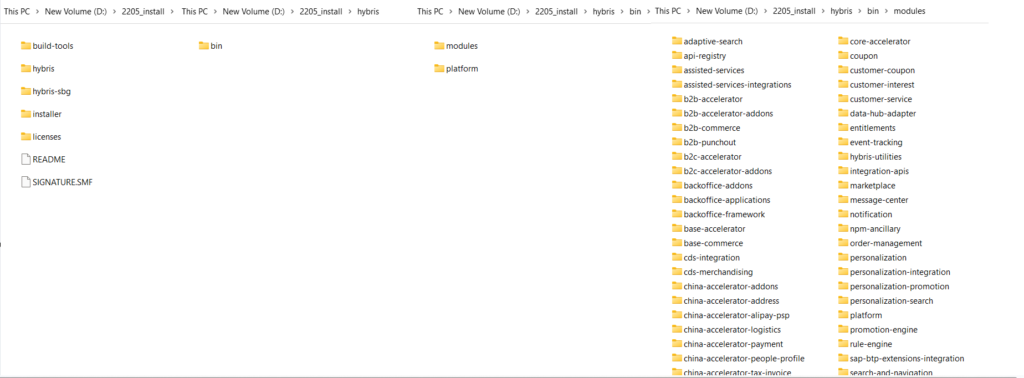
Unzip this and you will see below directory structure.
Download JDK
You can download Oracle JDK or SAP JDK (Provided by SAP). Most of the organizations are using SAP JDK as it is compatible with SAP Commerce versions.
You can download SAP Machine JDK from here: https://sap.github.io/SapMachine/
SAP Commerce 2205 version is compatible with JDK 17 or SAP Machine JDK 17.

Configure SAP Machine JDK
I configured JAVA_HOME and Path using SAP Machine JDK.

Install CX Recipe
After 1808 version SAP stopped to provide different recipes. Now it comes with one recipe CX and another one for China cx_china. We will use CX recipe. you can find recipe under installer folder.

After 1808 version SAP doesn’t provide initial admin password. So, we have to provide it during recipe command otherwise it won’t be able to install recipe.
For Windows: install.bat -r cx -A local_property:initialpassword.admin=your_password
For Linux or Mac: ./install.sh -r cx -A local_property:initialpassword.admin=your_password
Now open command prompt and move under installer folder.

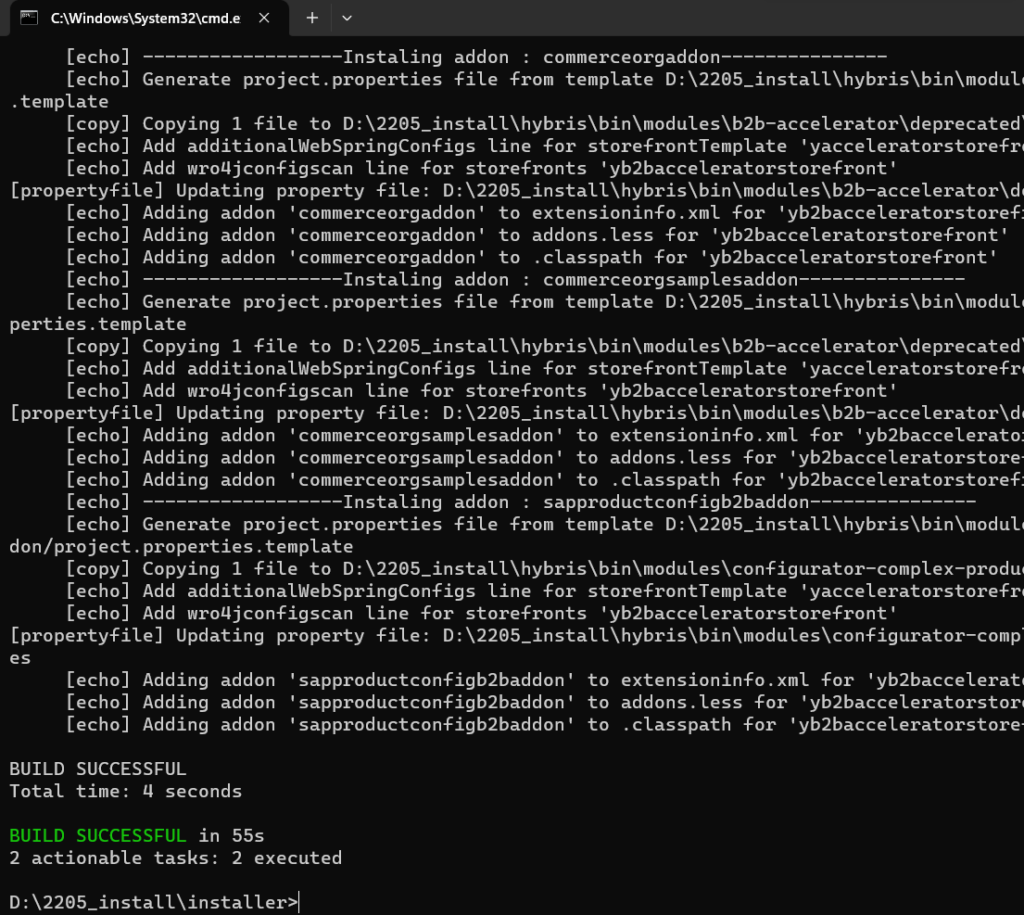
It will start execution of recipe.

Local Properties & Local Extension File
Now you can find local.properties file and localextension.xml under hybris\bin\config folder.


sample local.properties
sample localextension.xml
Generate Project Module
Before that above recipe step will generate the “yb2bacceleratorstorefront” under “<HYBRIS_HOME_DIR>\hybris\bin\custom” path. This will give you access to “Powertools” out of box hybris site. If you want to create some extra utilities or features, then you have to generate your own project structure. I will explain how to access out of box site as well through custom project.
First let’s remove extension generated by recipe (“yb2bacceleratorstorefront”) along with that remove it from localextensions.xml as well.
Just remove that entry for now.

Windows: rm <HYBRIS_HOME_DIR>\hybris\bin\custom\yb2bacceleratorstorefront -rf
Linux/MAC: rm -r <HYBRIS_HOME_DIR>/hybris/bin/custom/yb2bacceleratorstorefront
Now it’s time to generate project structure. This step will generate our project structure with essential extensions and other modules provided by hybris.
Now you can generate this using ant modulegen command.
Now move to platform folder under bin directory and run this command.
First we need to set ant environment using setantenv.bat in windows.


On this step it will ask you to provide multiple informations which you can provide step by step or you can use below command.
ant modulegen -Dinput.module=accelerator -Dinput.name=myproject -Dinput.package=com.hybris.myproject -Dinput.template=develop

Continue with default value and press Enter.

Here you go with the default value, or you can give any name of your choice. I am going to provide value as “myproject”

Now it is asking for package name. I entered as com.hybris.myproject

Upon entering above value, it will process it further and it will generate the project structure as below.
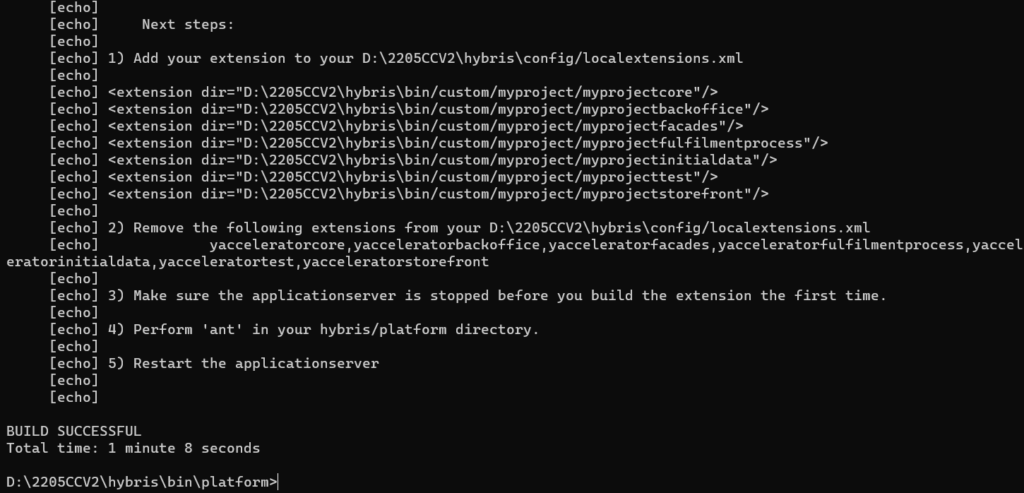

Now add these in your localextensions.xml file. Along with that we will comment out all the extensions starting with “yaccelerator” in localextensions.xml. Something like below.


Build Project & Initialization
Now it’s time build the project and do initialization.
Before Running Build, please add below properties to your local.properties file. These properties basically to install NPM dependencies along with build. People want to customize smartedit cannot avoid these properties but for beginners and backend developers we can skip that. Other reason NPM build will create tons of files and increase your build time a lot every time you are going to perform “ant clean all” command.
personalizationsmartedit.smartedittools.config=false
smartedit.smartedittools.config=no
personalizationsearchsmartedit.smartedittools.config=false
personalizationpromotionssmartedit.smartedittools.config=false
cmssmartedit.smartedittools.config=false
merchandisingsmartedit.smartedittools.config=false
Add these properties also in your local.properties file along with above properties.
website.electronics.http=http://electronics.local:9001/trainingstorefront website.electronics.https=https://electronics.local:9002/trainingstorefront website.apparel-uk.http=http://apparel-uk.local:9001/trainingstorefront website.apparel-uk.https=https://apparel-uk.local:9002/trainingstorefront website.apparel-de.http=http://apparel-de.local:9001/trainingstorefront website.apparel-de.https=https://apparel-de.local:9002/trainingstorefront
Now move to platform folder under bin directory and run this command.
First, we need to set ant environment using setantenv.bat in windows. (same we did in above step)
We will execute “ant clean all” command now.
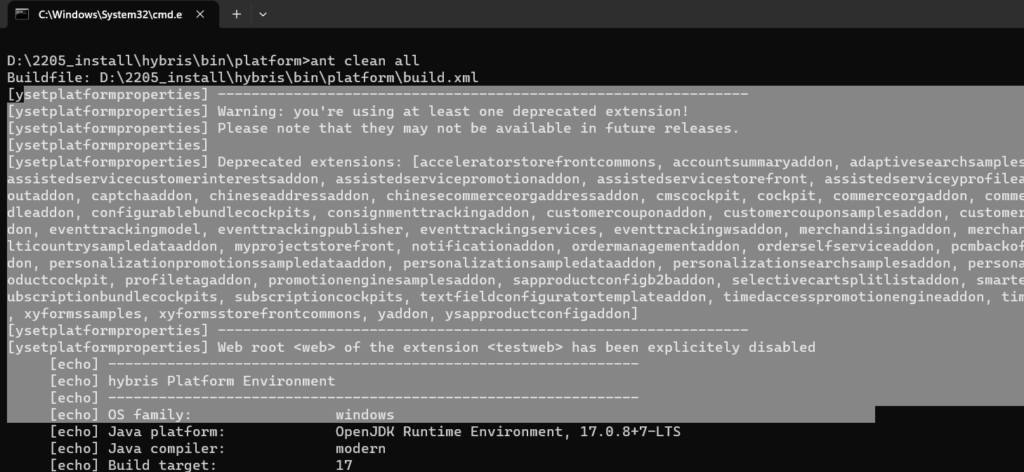
Once build is successful, then run hybrisserver.bat to start the server.

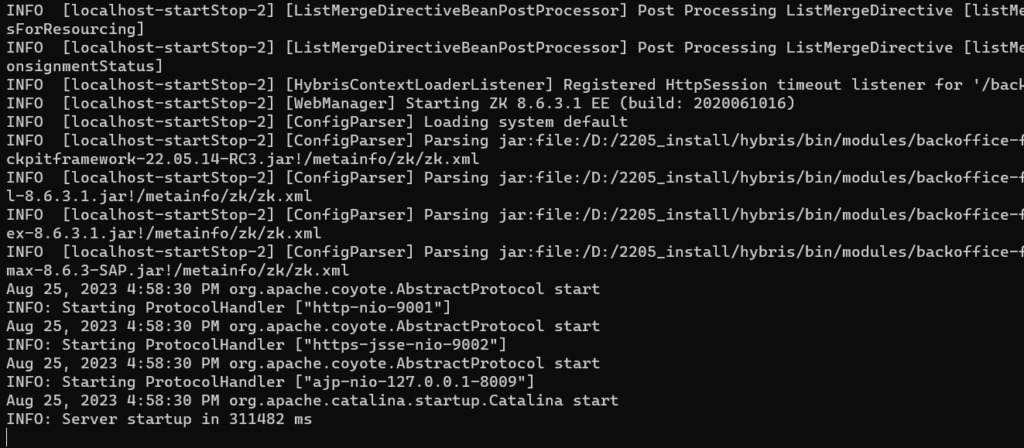
Now open https://localhost:9002/hac and enter username and password.
Username: admin
Password: Same you provided at the time of recipe installation (in my case it “nimda”)
System will ask you to initialize, please click the button and start initialize.


Click “OK”.

Initialization will finish with below text. It might take 3 to 4 hours.
INFO   | jvm 1    | main    | 2023/08/25 20:27:44.767 | INFO  [hybrisHTTP17] [Initialization] ###############################################################
INFO   | jvm 1    | main    | 2023/08/25 20:27:44.767 | INFO  [hybrisHTTP17] [Initialization] FINISHED. The initialization took: 0d 03h:19m:48s:101ms
INFO   | jvm 1    | main    | 2023/08/25 20:27:44.767 | INFO  [hybrisHTTP17] [Initialization] ###############################################################
Host File Entry
Go to Directory: C:\Windows\System32\drivers\etc
Open hosts file inside this folder using notepad++ or sublime text editor.
127.0.0.1 electronics.local
127.0.0.1 apparel-de.local
127.0.0.1 apparel-uk.local
Sample Store
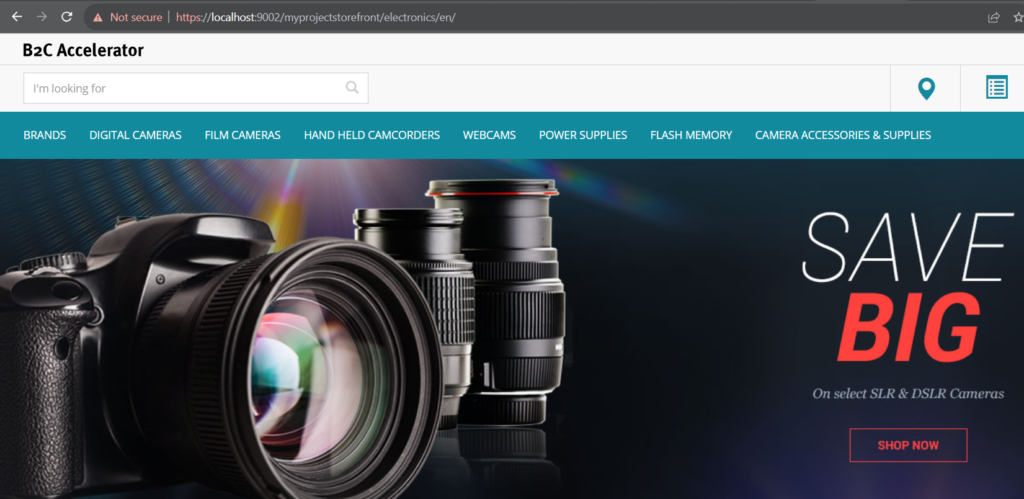
Now open https://localhost:9002/myprojectstorefront/?site=electronics
